


How To Make a Secret Diary
Or just a place for to-do lists, and notes about what's beautiful around you

Probably like yours (or your sister’s), my girl’s diary had a little gold lock and a tiny key. The paper was lined and the cover was yellow with a picture that I don’t remember. It was a place all my own where a few girlish thoughts could settle in secret. Because I had written them there I knew they mattered. But their meaning would remain a secret, even to me.
Later my diary became a journal, over-full with meaning. And, gratefully, that time passed, too.
But today! I’ve been thinking about putting together some of the loose pieces of paper on my shelves into a blank book. It’s a chance to take a break from the news and decorate something useful. Or maybe even inspiring!
Here’s an idea for making a small pamphlet with computer-paper pages.
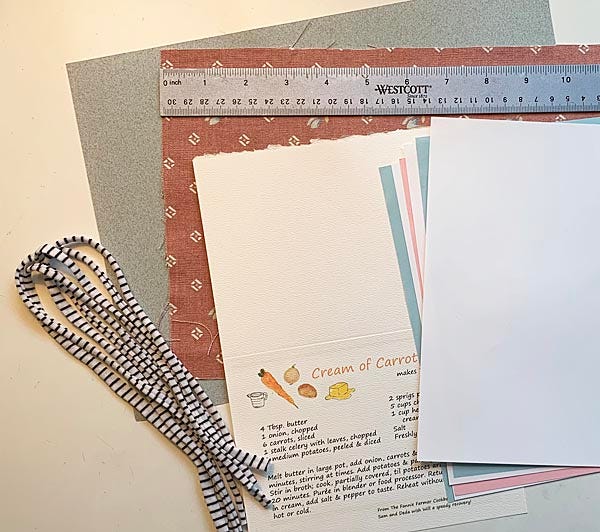
For the cover, use a greeting card you don’t mind recycling. I’m using a 5” by 7” card I had misprinted and was saving for a project like this. I’m going to cover it with a piece of fabric left over from 2020 when I was making cloth masks. If I keep the book to 10 pages, I think I can sew it together on the sewing machine. (It’s an experiment.) Here are my materials.
First, the cover. I’m using a greeting card that measures 10” by 7” when opened. The booklet covers will be 5” wide by 7” high.
Cut the fabric to about 8-1/2” x 11-1/2”. Lay it on the table, right side down. Center the greeting card on top. Fold the fabric edges over the card and iron them flat, carefully folding in the corners as you go.
The endpaper inside the covers will be paper similar in weight to light cardstock. I used 60 lb. gray-blue toned sketching paper. Cut one piece 9-3/4” by 6-5/8”. Place it inside the cover over the pressed fabric edges. Stitch the 3 layers together about 1/4” from the outer edges.
If you find it hard to hold all 3 layers together at the sewing machine, you can first stitch the fabric to the card, and then add the backing paper and stitch again. Then you will have two rows of stitching, which could be two different colors.
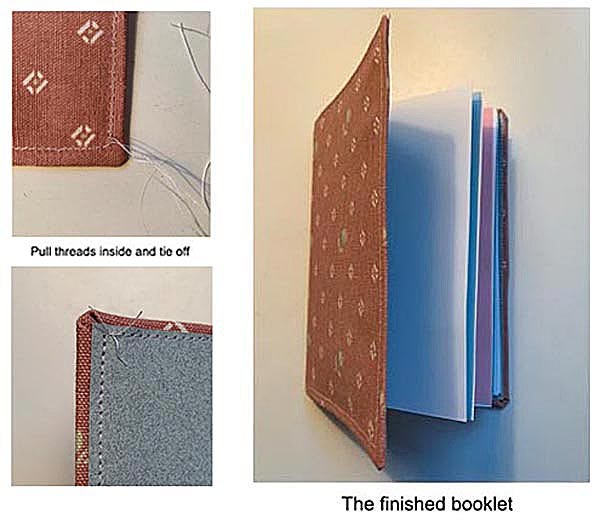
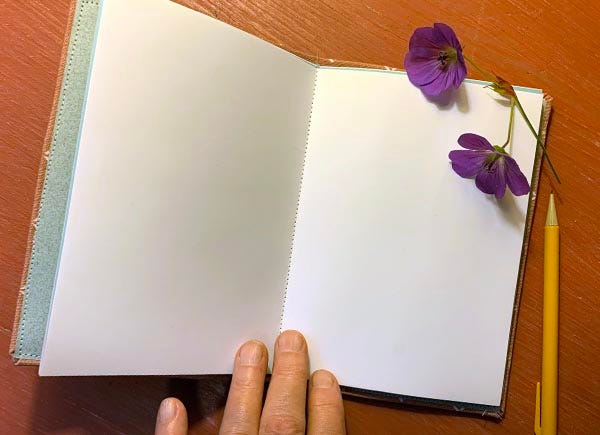
For the pages, cut 5 computer-paper weight sheets 9-3/4” by 6-5/8”, fold in half, and place the stack inside the cover. Stitch through all layers, making a pamphlet spine.
My review for this project is 4 stars because on impulse I added a few pages, which was a strain on my sewing machine. I might do it again with fewer pages, or use even more pages and sew them in by hand. That way I might have used the black and white T-shirt ties, although now I think that, in the end, they would have been too thick for the job.
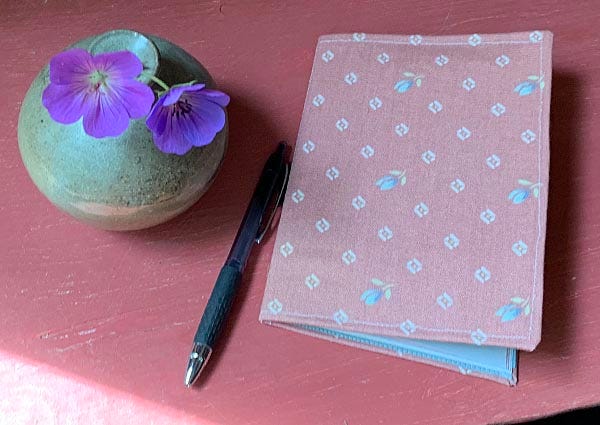
I really like the soft feel of the covers. It’s a friendly booklet. We might make some for gifts, using different pieces of fabric and various papers.
Now about the Secret Diary part.
I’ve thought about catching in the ends of a piece of soft, black round elastic inside the back cover edges at top and bottom, to encase the book vertically. But by now I’ve convinced myself that the appearance of this nice fabric handmade cover says it’s personal and private. Still, I wouldn’t leave it on the kitchen counter.
In other words, keeping your diary secret depends on where you keep it!
What another lovely idea, Deda!
Just thinking about a diary made me remember how important mine was to me as a young girl.
How cute! What a neat idea this is.